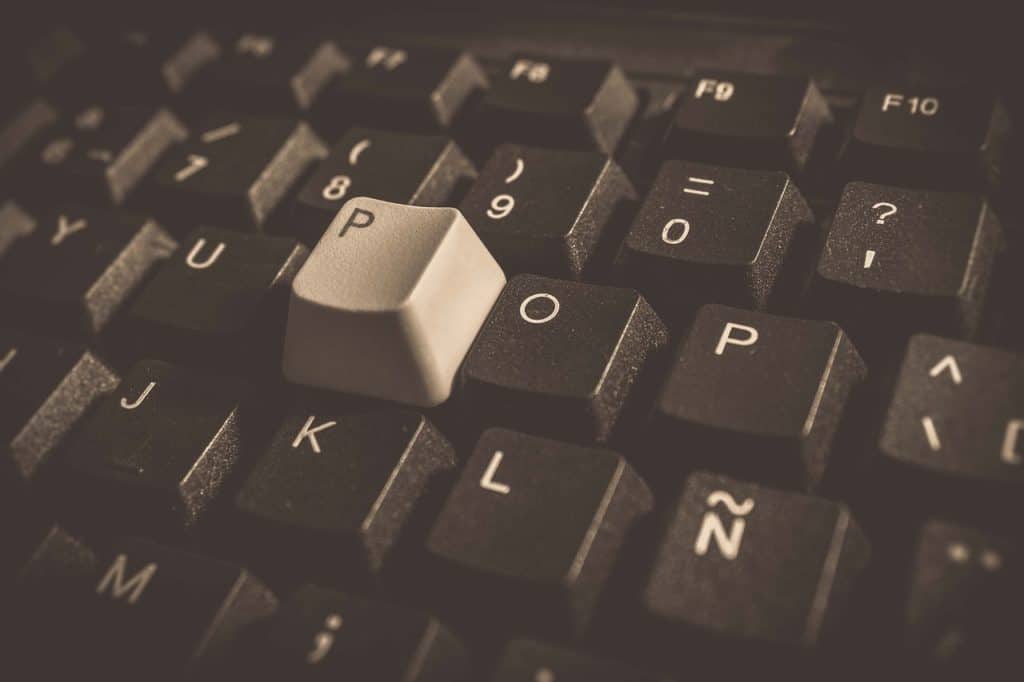
A very common question I hear is “Can you remove membrane keys?” Well, the answer is yes! It’s not as easy as changing out keys on a mechanical keyboard, but it can be done.
In a hurry? Is your membrane keyboard broken or just needs to be fixed? If your looking for a new one here’s my all-time favorite membrane keyboard on Amazon (affiliate link). It works great for gaming and office work. The RGB can be turned off to look professional (If needed). You can’t go wrong!
Table of Contents
What is a membrane keyboard?
Before you remove keys from a membrane keyboard, it’s important to understand how it works. A membrane keyboard is one that doesn’t have moving parts. It has no physical keys and switches as a mechanical keyboard would. Instead, the membrane keyboard has a series of pressure plates. When you press the key down the pressure plate sends a signal to your computer that the key has been pressed. Rather than the computer senses that a mechanical switch has been flicked.
This is very similar to how a touch screen phone or tablet works. Your touch screen sends a signal to the device that a certain key was pressed. Whereas with a membrane keyboard the signal comes from a specific key with a touch screen it comes from being in a certain area.
Why would you want to remove keys from a membrane keyboard?
Not all membrane keyboards have “keys”. Some are simply nothing more than a pressure pad. In this case, of course, you do not need to remove the “keys”. If you have a membrane keyboard that does have keys there are a few reasons you may wish to remove them.
Replace a broken or faded key
First of all, if the key is broken/cracked you may want to replace it with a new one. You may also want to replace a key that’s been faded and the letter is no longer visible.
Clean the keys
Perhaps all the keys are pretty dirty so you have decided to give them a proper clean without damaging the keyboard itself.
Replace the caps
Maybe you even decided you want to replace all of the keycaps. If you are still using the default caps you may have decided to switch things up a bit. Show a little creative flair and truly make the keyboard your own. There is a big market for keycaps, so the chances are you will be able to find some pretty cool ones. You could even repaint some boring ones to be whatever you like.
Clean the keyboard
One of the biggest reasons people need to remove the keys is to clean the keyboard itself. Dust, dirt, and other particles can make their way under your keys over time. This is pretty unhygienic first of all, but can also just be unpleasant to look at. If you are a clean freak you may want to clean your keyboard every three or so months. Though, you may be able to reduce the amount of maintenance required if you kept your keyboard protected with a keyboard cover.
Another reason you may want to clean your keyboard is that it doesn’t work as well anymore. Dust and grime can, over time, make your keypresses less responsive. If you have an expensive membrane keyboard (that has been modified to give tactile responses to keypresses) it can stop working if you fail to perform the proper maintenance.
What tools do you need?
Luckily, you won’t need any high-tech or expensive equipment to remove the keys. What you will need above all is a little patience. Don’t rush and you are going to have no trouble at all. Try to do it all too quickly, well, you might end up breaking your keyboard or losing some keys. The tools you will need are as follows:
Tools for removing the keys
- A Phillips head screwdriver
- A slotted screwdriver
- Three bowls
Tools for cleaning
- A toothbrush
- Some Sanitizer
- Two J cloth rags
- Compressed air canister
- A bowl of water
- A hand towel
How to remove the keys from a membrane keyboard?
Get a photo
Removing the keys is pretty simple. The first step is interestingly to take a picture of your keyboard. Once you have removed the keys, putting them back on is tedious. Not hard. Just tedious. The whole job becomes easier if you have a photo to reference as you add the keys back on. Once you have your photo is time to get to work.
Preparations
First, you are going to want to unplug your keyboard and take it to a large flat surface like the kitchen table. It is best to do this in a place where you aren’t going to lose any of the keys or screws. Set aside a bowl for the main Phillips head screws (cross-shaped), one for the extra pieces like clips, etc, and one for the keys themselves.
Remove the screws
Second, it is time to turn over the keyboard and remove all of the screws. They will all likely be Phillips head screws so use the appropriate screwdriver.
Separate the two halves
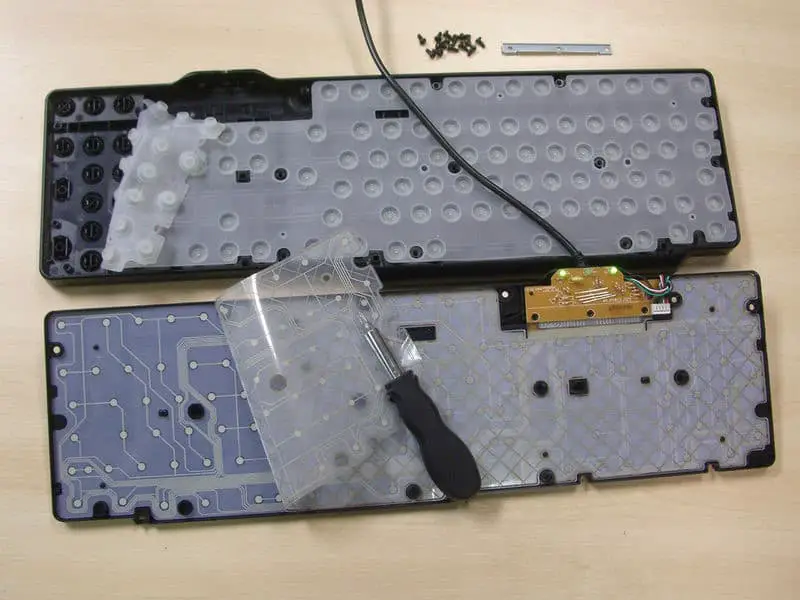
Once all the screws are out, your keyboard should come apart. You now have two halves. The top half, with all the keys. And the bottom half with all the pressure plates. Set the pressure plate half aside. You don’t want to touch that at all, or you risk damaging the delicate circuitry.
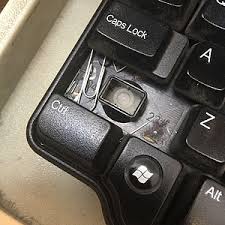
Loosen the keycaps
Next, you are going to use the slotted screwdriver to loosen the keycaps. They should be held on with two small clips on either side of the key. You don’t need to push too hard, they should pop out relatively easily. It is best not to take the enter/return key off because it can be a real pain to put back on. But, it should come off the same way.
How to clean a membrane keyboard?
The actual pressure plates themself should be left alone. You can wipe them down with a dry J cloth, but that’s about it. If you are having problems with them you will need to take them into a repair shop. Now, the other half of the keyboard itself is pretty easy to clean. Just scrub it with a toothbrush. If you want, you can put some hand sanitizer on the brush to clean it more deeply.
The keys should be soaked in a bowl of water with hand sanitizer in it. After 15-20 minutes drain the water and pat the keys dry. Don’t put the keys back on your keyboard until they are dry or you will almost certainly damage the delicate circuitry. You don’t HAVE to use hand sanitizer, but you probably want to. There have been studies done that indicate your keyboard is dirtier than your toilet seat.
Lastly, when you put the keys back in simply pop them into place. It shouldn’t take much force at all. Once all the keys are in place, screw the two halves of the keyboard back together. Remember to use a photo for reference to make your job easier. It is also important to note that if you find yourself losing one of the major Phillips screws, make sure you order a new one. Even with three screws, your keyboard won’t seal properly and will invite dust and other bacteria into it more easily.
Conclusion
Removing the keys from a membrane keyboard isn’t really that complicated. It only takes a few tools and the process is pretty straight forward. If you’re going to be taking your keyboard apart to replace some keys, you might as well clean it too!
Just be careful with the membrane side of the keyboard. That’s the side that holds all the electrical components that make the board work. You can remove it and wipe it off if it needs cleaning but be very careful.