Finding the right keyboard for you is not easy. There are so many different types, layouts, ergonomic shapes, and brands to decide from that you may feel overwhelmed.
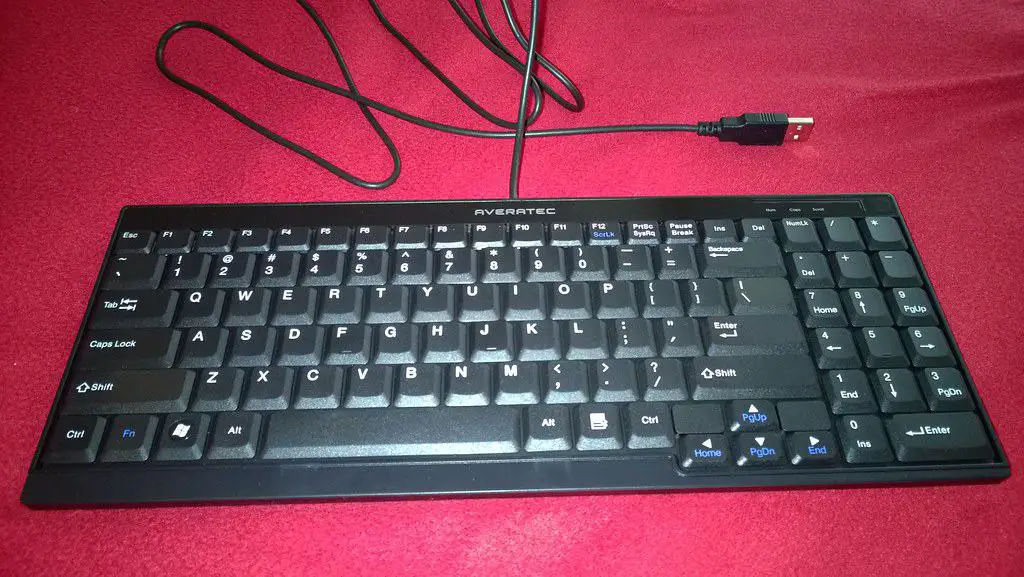
If you find a specific keyboard that seems to hit all of your needs but comes with some limitations, such as it needs to be plugged in, don’t lose hope. There is a way to make a USB keyboard wireless.
You don’t need to be an engineer, you don’t need any experience at all. Just time, patience, and willingness to learn. This article will cover everything you need to know about wired vs wireless keyboards and how one might go about transforming one into the other.
Table of Contents
Why might someone want to make their USB keyboard wireless?
There are tons of reasons someone might decide that a USB keyboard doesn’t suit their needs and would much prefer a wireless one.
First of all, a wired keyboard takes up so much more space on your desk and in your laptop bag. The cables are messy and can be easily damaged. Rendering your keyboard completely useless.
Of course, you could just buy a wireless keyboard. Except, sometimes we become quite attached to our keyboard. Typing on a familiar keyboard is great for comfort and speed. Making the change just so you can go wireless might not seem worth it.
So, you cant buy a version of your keyboard that is wireless, leaving you just one option. Convert it yourself. You could go to a professional, but it isn’t that hard to do yourself and a professional is going to charge you an arm and a leg.
If you have the money to spend, go for it, if not then you have come to the right place. Further on in the article, we will cover step by step how to make a USB keyboard wireless from the comfort of your home.
What are the advantages of a wireless keyboard?
A wireless keyboard is easier to transport around and takes up less room on your desk. If space is precious, using up half of your desk with cables is very inconvenient. Plus, you may not have access to a free USB slot at all times.
If you are using a public computer, like at a library, you might have to rely on the computer’s Bluetooth capability. Wires can get twisted, frayed, and break rendering your keyboard useless. This isn’t a problem with a wireless keyboard.
A wireless keyboard can also be moved around the desk to wherever feels comfortable. This is a good way to ensure you don’t get health problems such as carpal tunnel syndrome or general soreness of the wrists/hands. By repositioning the keyboard freely, you can always make sure that you are in the most painless position.

If you already have one of the various strain-related conditions caused by typing, then the relief from using an ergonomic wireless keyboard, like this one on Amazon, can be genuinely life-changing.
Another reason you may want to convert your keyboard into a wireless one is you have a great USB keyboard but there isn’t a wireless version. So you’ll just make your own.
Can you make a USB keyboard wireless?
Yes, it interestingly is possible to convert a USB keyboard into a wireless one. It takes a little time and patience, and the correct knowledge and tools, but it is certainly achievable. If you ensure that you follow the steps closely, and don’t rush, you should do just fine.
It is important to make sure that you do all of the altering whilst the keyboard is UNPLUGGED. Do not have it connected to a power source, or you’ll shock yourself. Potentially pretty badly.
There are some useful videos up on youtube about how to do this yourself if you feel a little lost. I looked up some to put in this article, here is an interesting one I found, but there are a lot more if you need a different solution:
It is a good idea to educate yourself about how USB works beforehand. You don’t need an engineering degree, but knowing which bits do what will be helpful so you can understand why you are doing what you do. Not just how to do it. This is especially useful if you wish to make the transition back.
How to make a USB keyboard wireless?
Converting your USB keyboard into a wireless one does not need to be difficult or dangerous. Once you take electric current out of the equation, the most dangerous part of making this alteration is poking yourself with a screwdriver. Here is a step by step guide to making the change:

First, ensure that your keyboard is unplugged from your PC. You don’t want a shock, and you don’t want to accidentally break the PC. Take your keyboard to a well-lit table and set it down.
Next, you want to connect a USB-compatible microcontroller to the keyboard’s USB port. This can be done easily if there is a spare port. If there isn’t, you are going to need to unscrew the keyboard and unplug the cord from inside. This is easy enough, as most keyboards are held together with a handful of screws. Don’t lose any of the screws, as you’ll need them to put the keyboard back together.
Your USB-compatible microcontroller is what will allow your keyboard to talk to the computer. It does so by connecting with a sister microcontroller in one of your computer’s USB slots. Plug in this second microcontroller now.
Unfortunately, they are not capable of speaking to each other on their own. They have no way to send a signal. This is why you will need to purchase two radio transmitters for each device. This will send a signal from the keyboard to PC registering each keystroke.
The transmitters must transmit on the same frequency, or they will “ignore” each other. Most transmitters come pre-programmed to a specific frequency. If yours isn’t, you will want to set them both to 433.92 Mhz. As that is what is recommended by most manufacturers.
Once both microcontrollers and transmitters are inserted, calibrated to the right frequency, and have a power source you are good to go. Simply turn on your PC and start searching for devices. If you don’t see your keyboard on the list of devices, first try typing with the keyboard to see if that jump-starts it. If not, you might want to recalibrate the transmitters.
Ensure both the first number, 433, and the decimal (.92) are the same. Many people assume that being close enough will work. Just like with your car’s radio, if you are even a fraction off with the frequency you will pick up nothing but dead air. If 433.92 isn’t working for you, you can try a different, similar, frequency. So long as they are both the same.
The Bluetooth option
You could also try converting the wired keyboard to bluetooth. To do this you will need a Bluetooth dongle and an available USB slot in your keyboard.
If your keyboard doesn’t have an extra USB slot then you can easily add one with a soldering iron and a spare USB hub. Check out this video for a tutorial:
Once you have the port, simply plug the USB dongle inside the keyboard and connect to the PC.
I haven’t tried this method myself, but I was told about this method and heard that it works, so try it at your own risk!
Some common problems with making a USB keyboard wireless?
The biggest problems are un-attaching the keyboard’s USB cord. Most keyboards allow you to simply unplug the cable when you want to make the switch. Unfortunately, some keyboards are soldered in. Luckily, removing solder isn’t too hard. So long as you have a soldering iron.
The next biggest problem is probably power. Most microcontrollers come with a battery, allowing you to have power for a small amount of time. But they need charging regularly. If you can fit a battery in your keyboard frame easily enough, go for it.
Lastly, the frequency. It can be hard to calibrate the radio frequency if you don’t know what you are doing. That’s why it is generally a good idea to use the standard frequency the manufacturers have set to on delivery. Buy both radios from the same place to make your life easier. If you do need to make a change, there should be instructions on the packaging.
Can you turn your wireless keyboard back into a wired one?
It is easy enough to undo what you did. Taking the microcontroller and radio out of the computer is enough on that end, the keyboard side is a little trickier.
You may have to open the keyboard and swap out the other microcontroller, which is easy enough, but then you need to fit the old cable back in. If it was soldered when you bought it, you are going to have to re-solder it in.
That should be no trouble if you managed to remove the solder in the first place. So I won’t cover how to do that here. There are plenty of great Youtube videos though.
Conclusion:
Hopefully, this article has answered any questions you may have had about how to convert your USB keyboard into a wireless one. The instructions may seem a little “wordy”, but that is just to ensure they are as easy to follow as possible.
If you are still having trouble, there is no shame in going to a computer store and seeing how much they charge. Don’t break your keyboard by trying to force it, it should be pretty easy but there is a chance it won’t be as every keyboard is different.
Good luck with your brand new wireless keyboard, and don’t burn yourself with the soldering iron!


