This post contains affiliate links
Replacing or repairing your keyboard cables can be daunting or simple depending on your technical skills. The fact of the matter right now is that your keyboard wiring is out of wack. You can’t type, and you’ve tested your keyboard and have determined that there is definitely a disconnect.
There are a few ways a keyboard cable can break. But in most cases, you can repair keyboard cables with no problem. Though a few types of repairs may be quite difficult for some people, depending on their knowledge.
In this article, we’ll go over some easy fixes and some harder fixes for your keyboard wiring, depending on where and how it’s broken. So, before we move on, you need to find out which of these questions most suit your needs:
Easy fixes:
- Is your wire not broken, but the keyboard connector is not compatible with your computer?
- Is the wire broken, but can be detached from your keyboard easily with no tools needed?
Hard fixes:
- Is the USB male connector side of the cable broken?
- Is the wire cut or torn somewhere in the middle?
- Do you not know where the damage is? Or is your wire detached from the keyboard when it’s not supposed to be?
| Piece of cake! | Tough as nails! |
|---|---|
| The keyboard connector is not compatible with the computer | USB head is broken or damaged |
| Detachable cable | Wire cut in the middle or detached completely |
If you’ve pinpointed your issue, feel free to scroll down until you see the answer to the question that fits. There is also a table of contents you can interact with to get there faster.
The article is broken down to assist you in wiring repairs for your keyboard, as well as a few alternatives with these problems in mind.
Table of Contents
The Easy Fixes
Good news, everybody! If you’re in this first section, you won’t need any tools. All you’d need is access to an online or electronics store of your choice. No soldering or re-wiring required, so continue reading below.
My Wire Isn’t Broken, I Just Need To Have The Right Connector For My Computer.
Whether or not your keyboard has a PS/2 Port connector or a USB connector, it doesn’t matter. You just need an adaptor. Adaptors allow normally incompatible computers to connect to devices that they normally don’t accept.
There’s nothing you need to do other than purchase the correct adaptor with the right ports for your needs. Here is a small list of adaptors for your reference:
- USB > PS/2 Adapter – For if you need to connect to older computer devices that don’t have newer USB connections.

See on Amazon
- PS/2 > USB Adapter – For if you need to connect to a computer that no longer has older PS/2 connectors installed.

See on Amazon
The reason why I had several pack versions linked is that these can be useful if you ever need a replacement down the line. These adapters are also rather cheap.
Simply plug your incompatible connection into the adapter you need, and it should be good to use again. If you need a different connector type, you can usually find them online easily. Just make sure to read reviews and product information to make sure the adapter will work for your needs.
My Wire Is Broken, But It Can Detach From My Computer Easily.
This is probably the easiest problem to solve in the article. Just like how if your phone charger cable breaks, you can always just purchase a new wire directly for cheap online or at a store.
Some newer models of keyboards have detachable mini-USB to USB or Type C to USB wires that can be replaced, with little hassle in reconnecting them back to the keyboard. There are also some USB to USB varieties in case your keyboard needs that instead.
The cool part is that if you need a longer cable, then you can purchase one now. Alternatively, if it looks like it’s a mini-USB to USB cable, a phone charger cable for Android devices may do the trick. So a quick replacement could already be in your home.
Read this before going to the advanced keyboard cable repair
The road below may be tough, especially if you haven’t dabbled into soldering or replacing wires before. That being said, here’s the light at the end of the tunnel:
The tools you have to purchase are re-usable and the basic circuitry skills you may have to learn may prove useful down the line too.
I’ll also link to plenty of tutorials so you aren’t hanging high and dry. Alternatively, you may have to replace the keyboard or have someone else fix the wiring. Before we continue, here’s a list of the tools you may need:
Tools needed for the job
A reliable soldering kit.

See on Amazon
A heat gun

See on Amazon
Soldering Flux Paste (Optional)

See on Amazon
Other Stuff:
- A wire cutter/stripper.
- A magnifying glass. (Optional)
- A replacement cable if the damage is extensive. (USB, PS/2, Type-C, etc)
- Electrical tape.
- A screwdriver.
- A grave for your keyboard’s warranty. (Optional)
Keep in mind you may not need all of these tools. It depends on where your wire is broken. So, continue reading below before purchasing anything.
How to solder
If you’ve never soldered before it’s really not that hard. Here’s a quick video for the beginner trying to learn the basics.
The hard Fixes
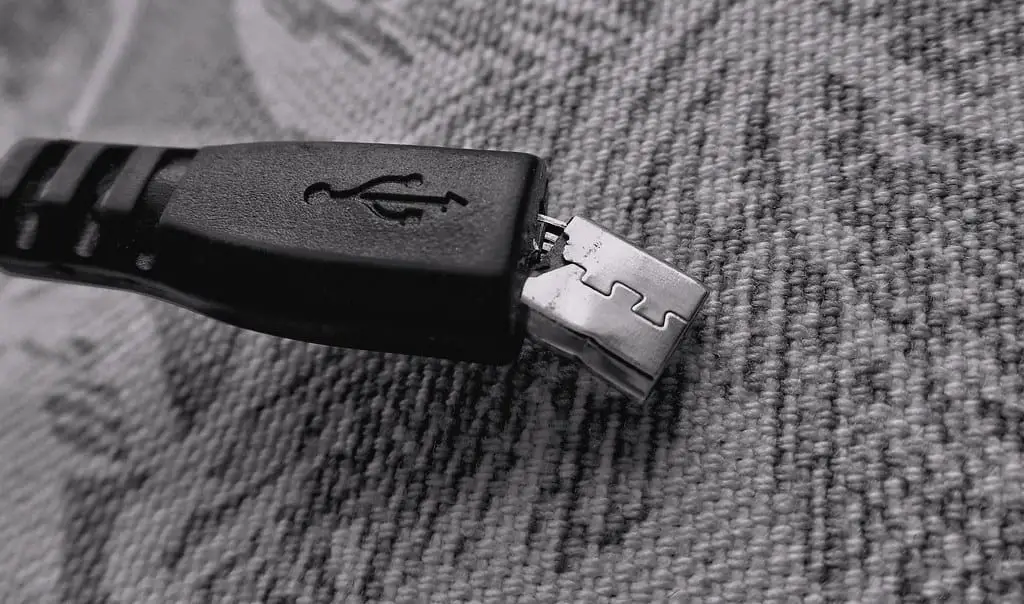
The Male USB Connector Part Of The Wire Is Broken.
Whether the USB connector fried due to water damage, your pet chewed on the head of your cable, or for whatever reason, you know your connector is broken and you’ve opted to fix it. Now, there are two ways you can deal with this issue.
- You can install a new USB connector directly. (Hard)
- You can install a new USB connector indirectly by soldering the wires together at the cable. (Easier)
Let’s fix it directly!
I find this guide to be extremely helpful for replacing a USB connector directly. Essentially, you’ll be soldering the individual wires from the keyboard’s original USB wiring directly onto a new USB connecter. You’ll need a new USB Male Connector specifically made for soldering.
- Essentially, you’ll need to cut an inch off the damaged USB cable (If you can detach the plastic shielding, I recommend it), and strip the plastic covering the 4 individual wires inside.
- Using your soldering kit, solder each individual wire onto the nodes of the new “naked” USB connector. To make sure you’re connecting the right wires, this short guide can assist you in determining what each color means for basic USB cables.
- If you follow the first guide I showed you, then you should have no issues connecting the wires to your new USB connector, just make sure that you don’t let any wires show on the USB hub by using a plastic USB shield and electrical tape, and you are good to go.
Let’s fix it indirectly!
I find this guide is a great resource for connecting USB wires together. Instead of using a naked USB Male Connector for soldering, all you need is a completed (and functional) USB male connector with the wiring stripped at least an inch or two below it.
- First, cut off the damaged USB connector and strip the plastic off the wiring still connected to your keyboard.
- Next, strip the colored plastic wires on both exposed ends, and remove any insulation in the way of the metal wiring underneath.
- Intertwine the wires belonging to your new USB connector and the cable to your keyboard together. Make sure the colors for each individual wire match, and twist them together like they are shaking hands tightly.
- Go ahead and test your keyboard to see if the USB replacement works. If it does, congratulations!
- The hard part is done, and all that you need to do is wrap all four wires individually with electrical tape, and then wrap the entire cord again. This will protect your cord from damage, and yourself from electrical shock.
That’s it! You’ve fixed your USB cable with no soldering required.
I Don’t Know How My Wire Is Damaged. Or It’s Detached At The Keyboard Side
Here’s where we have to go into the guts of your keyboard. Here are the steps you need to follow:
- Make sure you grab your trusty soldering tools and a screwdriver.
- Unplug your keyboard, and flip it upside down. You should see some screws on the bottom that you can loosen. Once the bottom chassis of the keyboard is removed, you’ll be able to see where your wiring is connected directly to the board circuitry. The following video should help you pinpoint where you should generally look. Be warned, the English isn’t perfect but the tutorial is super helpful.
- Depending on what you find out, you may see that some wiring could be damaged on this side of the board. If it looks like the wire can be stripped and resoldered, go ahead and do so. Otherwise, you may need to connect a new USB cable to the keyboard in case that doesn’t work after testing.
- Make sure to follow the same guidelines for soldering the wiring to the USB male side of the cable. It’s pretty much going to be a similar process for soldering the wiring to the circuit of your keyboard. Don’t forget to use the flux paste.
- Once you’ve successfully soldered the wires solidly onto the nodes, go ahead and test the keyboard to see if it’s working. If not, you may have made a cold solder connection or some other mistake that could be fixed by going through the process again.
- Once your keyboard is officially working, carefully place the shell back together. Voila, you have fixed your keyboard cable!
Conclusion
Whether or Not It Is Easy, There Are Definitely Ways You Can Fix A Keyboard Cable.
While there are so many factors involved, like the varieties of cable types and the individual differences between each keyboard, it’s still relatively simple to replace a broken cable. You just need to have the right tools, the right know-how, and a great attitude.
If anything, learning how to fix your own computer components, starting with simple wires like USB cables, is a great start to a foundation worth of useful knowledge that you can use later in life.
Or you can just buy a new keyboard and save yourself from breaking any warranties. Either way, good luck with fixing your keyboard!